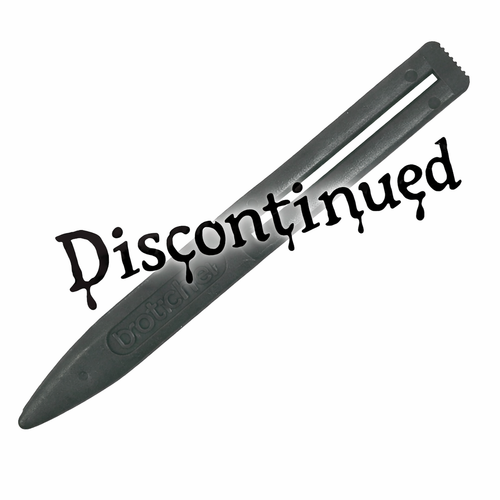
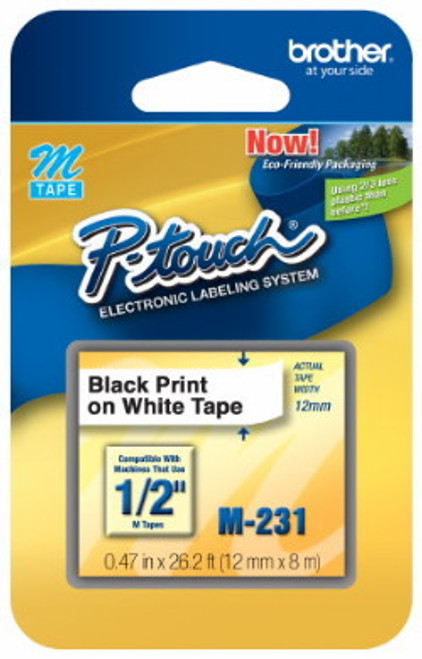
Some Brother P-touch® label makers come with a tape separator stick while others do not. If you have lost your original stick or never had one and would like this easy to use tool, PtouchDirect has this genuine Brother item in stock. This stick allows you to easily remove the adhesive backing from your newly-made labels. This process can become very difficult without the tool if you have many labels that have been made and this tool is much better than using a pencil, pen or screwdriver.
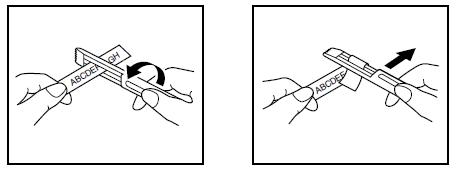
Using this tape separator stick is a very easy process as you simply slide the short end of the label into the stick slot until the label rests about halfway into the slot lengthwise. You then twist the stick about three quarters of a turn and then pull the stick away from the label. This should partially separate the label from the adhesive backing. You then will pull the separated end away from the label. With practice, this will become a routine part of label making. Brother Peeler Stick.
Instructions
- Open your Brother P-Touch system's tape compartment and remove the Tape Separator Stick from inside if your model has an included stick; or, pick the stick up from the tabletop. Position the stick in your dominant hand with the long slot pointing away from you.
- Pick up a printed laminated label with the backing facing away from you. Hold the label in your non-dominant hand by one of the short-sided ends of the label.
- Slide the other short end of the label into the stick slot until the label rests lengthwise about half way into the slot.
- Twist the stick handle in your dominant hand toward you until you've completed three quarters of a turn and then, without moving your non-dominant hand, pull the stick away from you and the label. If done correctly, the pressure applied to the end of the laminated label should partially separate the label from the backing.
- Grasp the separated end of the backing and pull it away from the label. If you can't grasp onto the backing, insert the tapered end of the stick handle between the partially separated pieces to help force the backing away from the label a bit more so that you can grasp it.
There are several methods of removing the backing from the label. In most cases the backing can be separated by using your finger nail to separate the backing from the label. Another method you can use is the optional Peel Stick.
- Hold the tape in your left hand, with the printed surface facing up, and hold the stick in your right hand.
- Pass the tape halfway through the long narrow hole in the stick.
- Turn the stick three-quarters of a turn towards you and pull the stick away from you as shown below.

- Peel off the label backing.
Another method Brother recommends is to use a pen that has a pocket clip.
- Hold the tape in your left hand, with the printed surface facing up, and hold the pen in your right hand.
- Pass the tape halfway through the long narrow hole in the pen's pocket clip.
- Turn the pen three-quarters of a turn towards you and pull the pen away from you.
- Peel off the label backing
| TYPE: | Separator Stick |


